Cool CSS Effects: Transform Your WordPress Site Using WPBakery
While making a website can be really easy and fast these days with an endless amount of themes to choose from and builders offering pre-made templates, sometimes you need the website to be more unique and stand out from the rest.
From subtle animations that breathe life into your buttons to smooth transitions that guide your visitors’ journey, these effects have the potential to elevate your site’s aesthetics and user experience. The good news? You don’t need to be a coding wizard to achieve these stunning results. With WPBakery Page Builder at your disposal, you can seamlessly integrate a plethora of CSS effects that will leave a lasting impression on anyone who interacts with your website.
Let me walk you through the process of adding CSS to your site while also showing you some beautiful effects that you can use yourself.
What is CSS?
CSS which is short for Cascading Style Sheets is what is used to style your layouts. So it’s the colors, font sizes, animations, all sorts of effects and other things that make websites look like they look.
As the purpose of this article is to add CSS effects to the site, let me quickly show you the structure of CSS code because that’s what we’re going to be adding.

We’re going to mostly be adjusting and changing the selectors and values if anything at all. But more about that later.
Built-in CSS Animations
Before diving into custom CSS and effects you can find on the internet, WPBakery comes equipped with built-in CSS animations that you can apply to multiple elements like button elements, Single Image, Text Block, Icons, and others.

To add a CSS animation to an element:
- Open the edit window for the element;
- Scroll down to the CSS Animation section;
- Choose the effect;
- Click “Save changes”.
Where to find CSS effects?
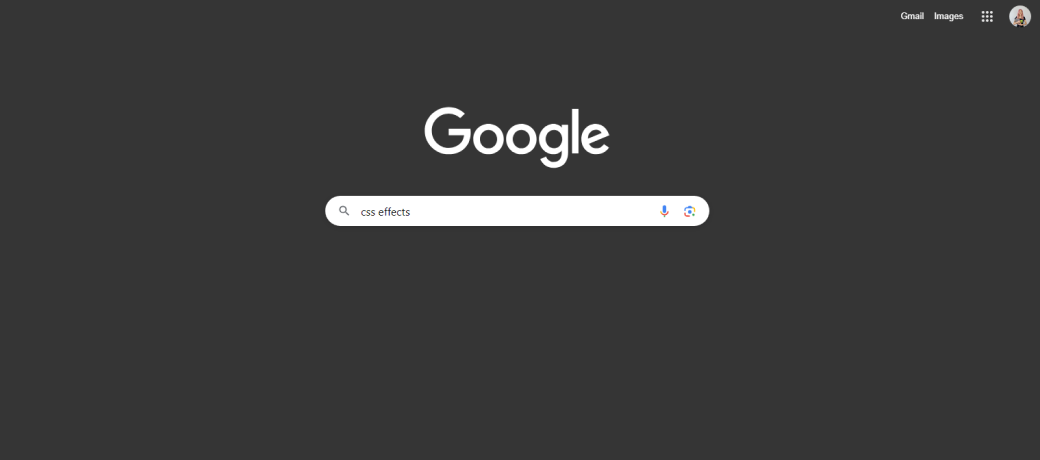
As with everything these days, there are many ways to get your hands on some cool effects. The first is obviously Google.
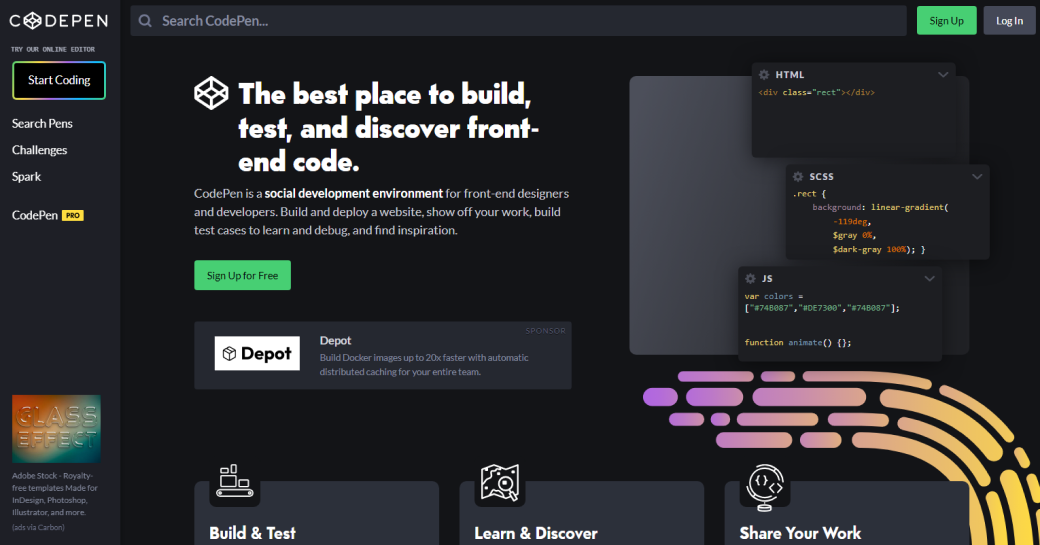
CodePen is another excellent option because it’s a community-driven resource where you can find code snippets shared by others and see how they will look.
And last but not least everyone’s new personal assistant – ChatGPT. Which is an AI chatbot that will help you generate any effect you can think of as long as you ask the right questions.

Apart from these, you can also find inspiration from Awwward, Dribbble, and Behance. All of these will give you an endless amount of inspiration, examples, and tutorials, and if used together will definitely help you make your website stand out.
How to add custom CSS in WBakery?
There are multiple ways you add custom code with WPBakery and every single one of them is quick and easy. You can add custom CSS to the whole site, to a page, to a specific element, and in one case – to a particular part of the text (I’ll walk you through this a little later).
So let me show you how to add CSS to any element. I’ll use a text block as an example.
- Add the element, Text Block in this case, to the page;
- Open the element edit window by clicking on the edit icon in the green controls that will appear when you hover over the element;
- Scroll to the bottom of the edit window and locate the Extra Class Name section;
- Add an extra call name to the element;
- Click Save Changes;
- Go to the Page Setting by clicking on the gear icon on the top right;
- Locate the Custom CSS section;
- Add your custom CSS code snippet;
- Add the extra class name you chose before as the selector;
- Click Save Changes and your effect will be applied.
As you can see, it’s basically just 2 big steps – give an extra class name to an element and then add your custom code with the extra class name you gave before.
Glow/Shadow Effect
The first effect we’re going to be looking at is simple yet effective – it’s the glow effect that can easily be made into a shadow.
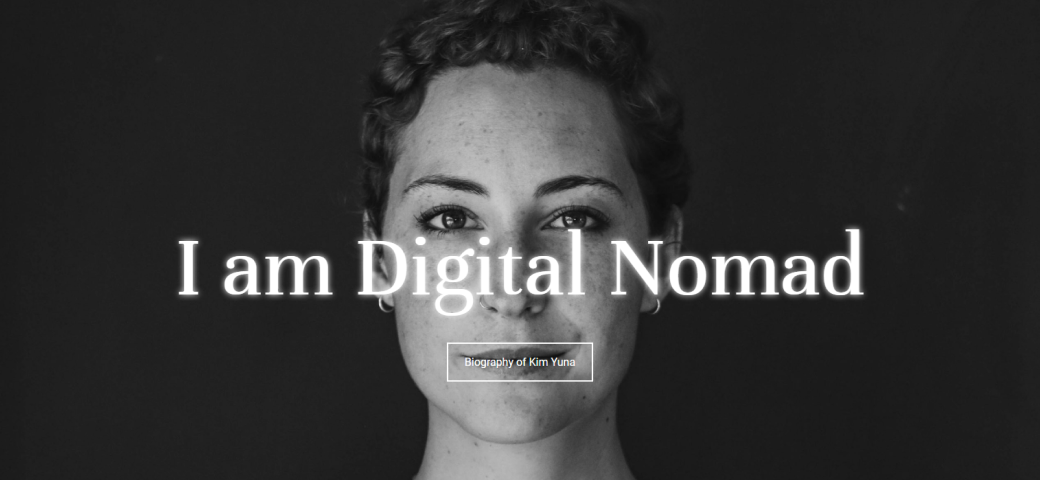
To apply a glow effect to text, you just have to add a Text Block to a page, give it an extra class name, like “glow-effect” for example, and paste the following code snippet into the Page Settings:
.glow-text {
text-shadow: 0 0 10px rgba(255,255,255);
}
These are the values of this code snippet:
- Horizontal offset: 0
- Vertical offset: 4px
- Blur radius: 6px
- Shadow color: rgba(255,255,255)
You can adjust these values to make the effect fit your layout. For example, making this into a shadow, not a glow would require you only to change the color to black.
If you want to apply a glow or a shadow to a box rather than a text, add an extra class name to a bigger block of content, like a column or row. You can do that the same way you would to an element, just by opening the edit window for each of those.
This is the code snippet for a box shadow:
.box-with-shadow {
box-shadow: 0 0 10px rgba(0, 0, 0, 0);
}
Both of these effects can really elevate your design and highlight the most important things.
Effect on a specific word or phrase
Let’s say you don’t to add an effect to the whole text but you want to highlight a specific word or phrase within your text. That is easily done as well.
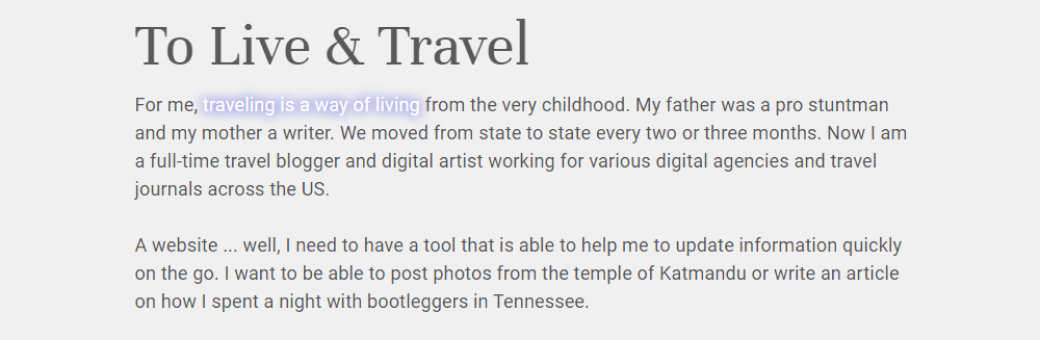
Start by adding a Text Block element and in the TinyMCE editor, choose the Text tab instead of the Visual tab.
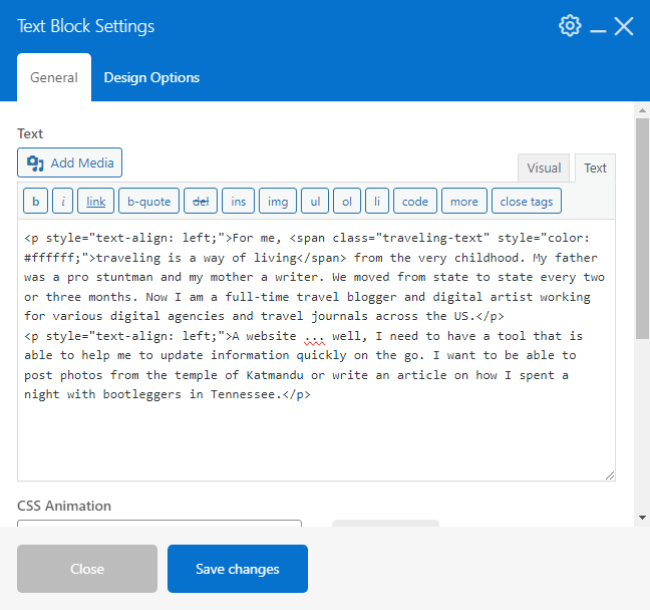
Here instead of adding an extra class name to the whole element, you’ll have to add a class name to the specific words. If you already know how to do that, that’s great! But if you don’t you can ask ChatGPT to do that for you. This is the prompt I used to add the class name “traveling-glow” to the words “traveling is a way of living” in the first paragraph of the text.

Now just replace the code original code with the one that ChatGPT generated, click Save changes and that’s the first and only step that’s a little different.
To add the effect, do the exact same as before. Add the code snippet to the Page Settings and change the selector to the class name that we gave before.
.traveling-glow {
text-shadow: 0 0 10px rgba(0, 0, 255, 0.7)}
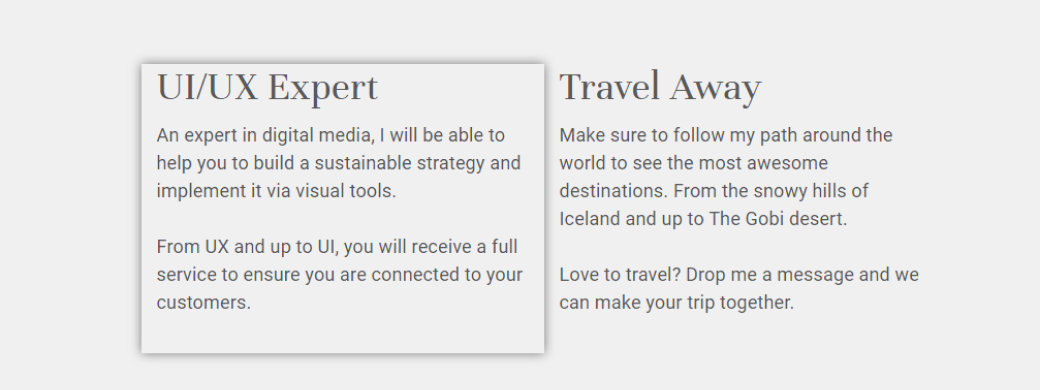
Text highlight hover effect
Now that we’ve got the mechanics of adding CSS effects down, we can look at some more cool-looking effects. Like this hover effect that highlights your text in an interactive way.
This effect can be found on CodePen.
Here’s the code snippet for the effect:
a {
color: #000;
position: relative;
text-decoration: none;
}

a::before {
background: hsl(45 100% 70%);
content: "";
inset: 0;
position: absolute;
transform: scaleX(0);
transform-origin: right;
transition: transform 0.5s ease-in-out;
z-index: -1;
}

a:hover::before {
transform: scaleX(1);
transform-origin: left;
}

To apply it to text in WPBakery, you guessed it, follow the same steps:
- Add a Text Block element;
- Give the element an extra class name;
- Copy the code snippet from CodePen and paste it into the Page Settings;
- Replace all selectors with the chosen extra class name.

And once you click “Save changes”, the effect will be added.
Image hover zoom effect
Another interactive hover effect is this zoom effect that can be applied to any image.
This is the code snippet you need to apply this effect:
.img-hover-zoom {
height: 300px; /* [1.1] Set it as per your need */
overflow: hidden; /* [1.2] Hide the overflowing of child elements */
}

.img-hover-zoom img {
transition: transform .5s ease;
}

.img-hover-zoom:hover img {
transform: scale(1.5);
}
Remember: If you add the same extra class name to multiple elements, columns, or rows, the effect will be added to all of them.
All other steps are the same: extra class name to the Single Image element, copy-paste the code snippet in the Page Settings and you’re done.
Start styling!
Adding some extra styling to your site can be an easy process if you know where to look for some code snippets and have the right tools to add them to the site. As we saw from the examples, the WPBakery page builder allows you to add CSS code snippets to elements on the page and you can see them come to life without leaving the page.
Start experimenting and watch how your WordPress website comes alive with interactive, eye-catching elements that truly capture attention.