How to Create Custom WPBakery Elements Using AI
By now, if you’re still not using AI, you’re doing yourself a disservice.
This isn’t to say that AI can replace or automate every task, but it can surely speed things up. And it all comes down to prompting, because the result will only be as good as the prompt.
Here at WPBakery, using AI isn’t frowned upon – it’s encouraged. So today, we’re going to show you how to create custom WPBakery elements using AI – an idea that came from our community – to save time if you’re a developer, and to be able to DIY it if you’re not.
What You’ll Need
- A clear idea of how your custom element should work
- A design of how your custom element should look
- An AI tool (like ChatGPT or Claude)
- A development or staging environment
Steps To Creating Custom WPBakery Elements with AI
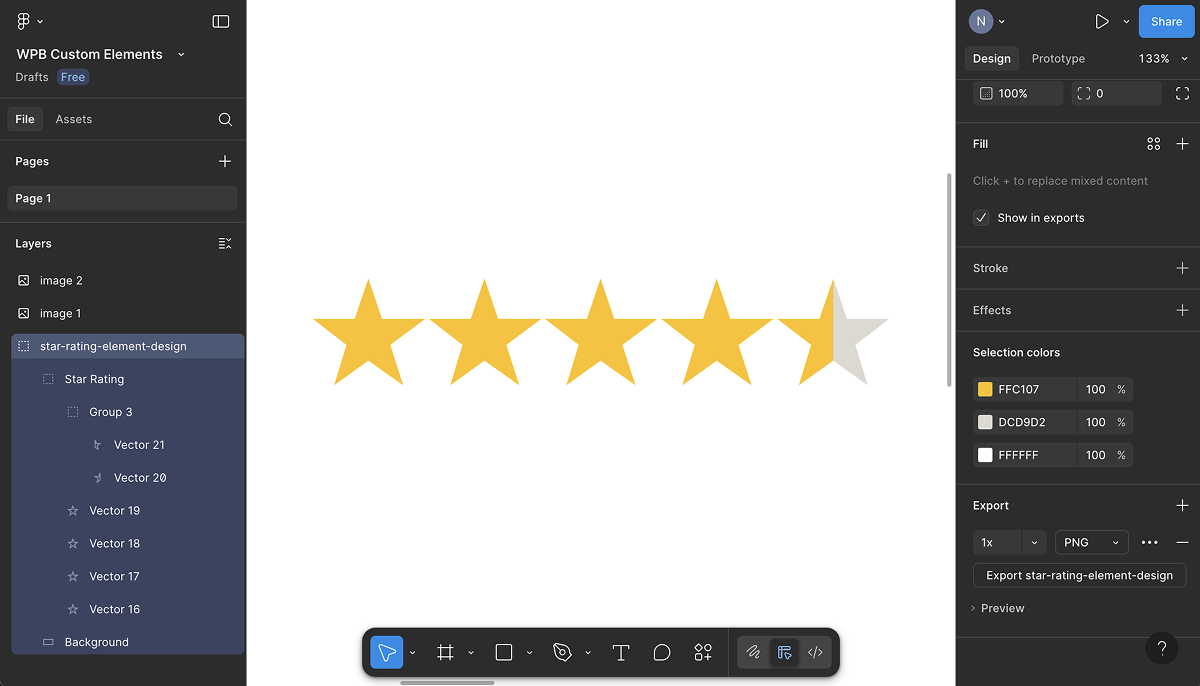
For this example, we’ll be creating a Star Rating element you can add to testimonials. It’s simple, reusable, and adds credibility to your reviews.
1. Design it first (recommended)
While this step is optional, it is highly recommended. You will get the results you want much faster with AI if you can show it what you want, rather than just describing it.
Once I have an element in mind, I usually get inspiration for its design from:
- Dribbble
- Awwwards, or
- Our own WPBakery Showcase
Whenever I see a design I like, I screenshot or save it.
Then, the next step is to design your own version. We used the free, browser-based vector graphic software Figma. In this case, you can also download icons from platforms like Flaticon or Font Awesome and customize them to your liking.
Remember, you don’t need to be a designer. A clean screenshot or a basic design wireframe is enough to help AI generate something that actually matches your idea, much faster.
2. Engineering the prompt
Next, and arguably the most important step, is to write a good prompt.
This is the step where most people go wrong – they either aren’t specific enough, or they dump too much information all at once.
For this tutorial, we’re using ChatGPT-4o, but Claude Artifacts or any other AI tool that can assist with coding will work. Whichever you choose, the tool doesn’t matter as much as the approach does. So, be specific, and go step by step.
Before you write the prompt, take a minute to outline what you’re actually building:
- Element name – what is it and how will you title it?
- Input fields – what parts of the content element should be editable?
- Layout or behavior – does it show icons? Columns? Is anything dynamic?
The more specific you are here, the easier the rest will be.
Here’s the final prompt we used:
Create a custom WPBakery Page Builder element called "Star Rating" based on the provided design.

It should have the following editable input fields:

- Rating (0-5) – number input (e.g. 4.5)
- Alignment – dropdown with values: Left, Center, Right
- Size – dropdown with values: Small, Medium, Large – default state should be medium
- Star Fill Color – color picker
- Star Empty Color – color picker

Provide me with a downloadable zip file.
And the output we got:
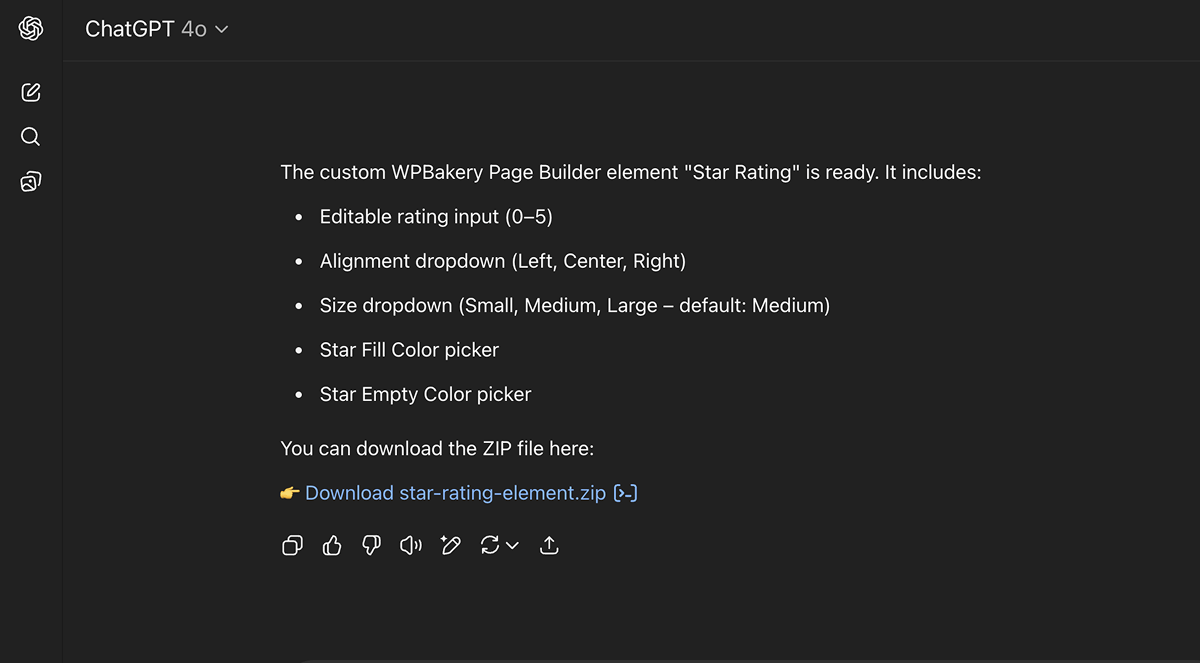
Note: We’re using the paid version of ChatGPT here. The free version can’t create downloadable files, so you’d have to copy-paste the code into a plugin manually – not recommended unless you’re comfortable editing theme files.
3. Testing & refining
Once you’ve got the ZIP file, it’s time to test it.
To test the custom element, I used a local environment – Local WP. It’s free to download, and it automatically sets up WordPress for you. So you can test things safely before adding them to your live site.
Make sure you’ve got WPBakery Page Builder installed and activated on your local site.
Installing the custom element on your WordPress site goes the same way as you would install any other plugin:
- From your WordPress Dashboard, go to Plugins → Add New → Upload Plugin
- Upload the ZIP file you got from ChatGPT
- Click Activate
Now go into the WPBakery editor on any page and search for your custom element – in our case, “Star Rating”.
Add it to the page and test it thoroughly:
- Does the element show up?
- Do the input fields (like size or alignment) work properly?
- Do the colors apply as expected?

It usually takes a few tweaks and back-and-forths with the AI tool to get it just right. Once it looks and works how you want, you’re done.
You’ve built your very own WPBakery element – no code, no dev help, just clear direction and the right tools.
Note: If you’re a non-coder, we recommend you have a developer review the AI-generated code before using it on a live (production) website. This helps avoid bugs, security issues, or performance problems.
Final Thoughts
Whether you’re a developer trying to save time or someone building your own site without writing code by hand, AI can make the process much easier. It’s especially useful for creating custom WPBakery elements – the kind you can reuse across different pages or even different projects.
All you need is a clear idea, a solid prompt, and some time to test and tweak.
Try it out and let us know how it works for you – we’d love to see what kinds of elements you build!
And if you want to dive deeper into building custom WPBakery elements, check out our API documentation.