Cooking Websites: My Favorite Web Design Tools | Part 1
Welcome to the first article based on our new video series “Cooking Websites: My favorite web design tools” where we’ll be sharing our favorite web design tools that we use all the time. In this first article, we’ll be introducing you to 4 web design tools, while showing you how they can come in handy in building a landing page.
What is the “Cooking Websites” series? If you’re looking for inspiration, you’re in the right place. Hosted by Irma from WPBakery Page Builder, this bi-weekly web design series offers a delightful array of web design tools and techniques to elevate your creative journey. Join Irma as she shares her favorite tools, along with tips and tricks, in each episode!
In this article we’ll break down the process of:
- Generating a Color Palette with Adobe Color
- Creating the Page Layout with WPBakery
- Creating a Custom Pattern with SVG Repo
- Finding the Perfect Font with WhatTheFont
Building a Landing Page
In this first video episode, Irma used Figma to draw up a quick and simple landing page prototype. Now, let’s translate that onto an actual website with the help of four simple design tools.
Generating a Color Palette with Adobe Color
One of the first steps in creating a landing page is figuring out the color palette.
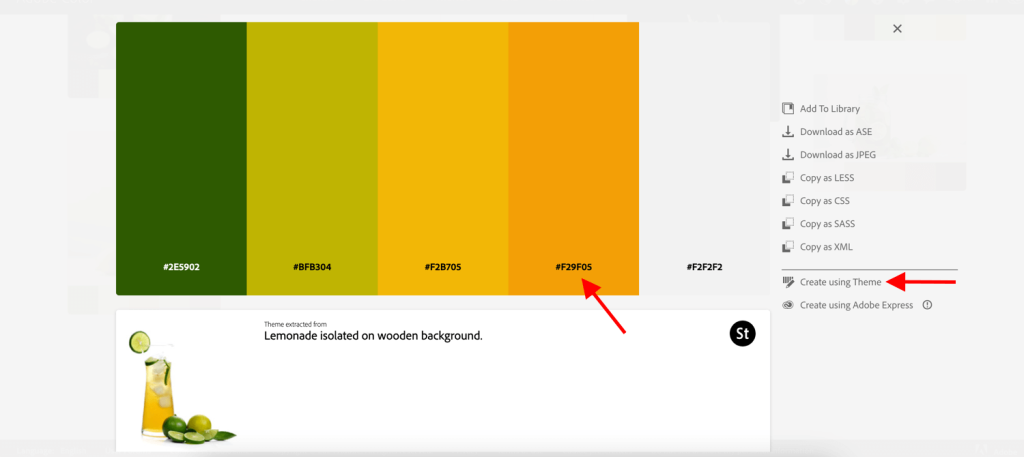
If you’re not sure where to start, try a color palette generator like Adobe Color. Start by navigating to the Explore section, upload an image (like this one we found from Pexels), and explore similar color palette options.

Select one you like, use it as a reference by copying each color code in the palette, or create a custom color scheme by using the “Create using Theme” feature.
Tip: Limit your palette to a few primary colors and one or two accent colors to draw attention to key elements like headlines and calls-to-action.
Creating the Page Layout with WPBakery
With the color palette set, now let’s design the actual page layout, and add content to it.
We’ll use WPBakery Page Builder for this. Start by installing and activating WPBakery on your WordPress site.
Then, follow our step-by-step guide to building a landing page to get familiar with the page structure and design options.
Remember to incorporate your chosen color palette throughout the design.
Creating a Custom Pattern with SVG Repo
Now that we’ve laid down the structure for our page and added content, it’s time to start styling it.
Since the hero section holds the spotlight on a landing page, it’s crucial to nail its appearance. To strike the right balance, we’ll create a background image with a subtle, low-contrast pattern.
To begin, we need an icon for our pattern. Find a suitable icon (like a lemon) that fits your theme on SVG Repo – a vast library for finding all sorts of vector icons that are perfect for customization. Then, simply download the SVG file of your desired icon.
![]()
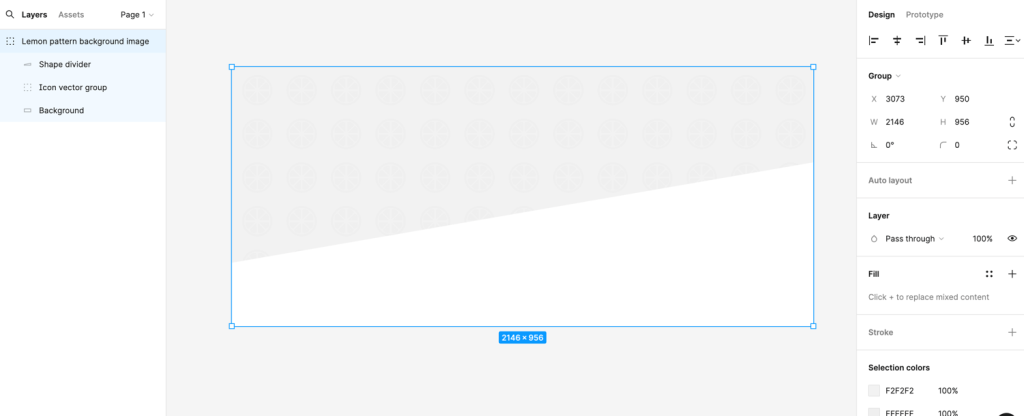
Next, use any graphic editing software available to you – we used Figma. Adjust the icon’s color to a light color, aligning with your chosen color palette. Duplicate the icons to form a pattern, then add a slightly lighter block as the background and an irregular white block on top, to shape it into a divider.
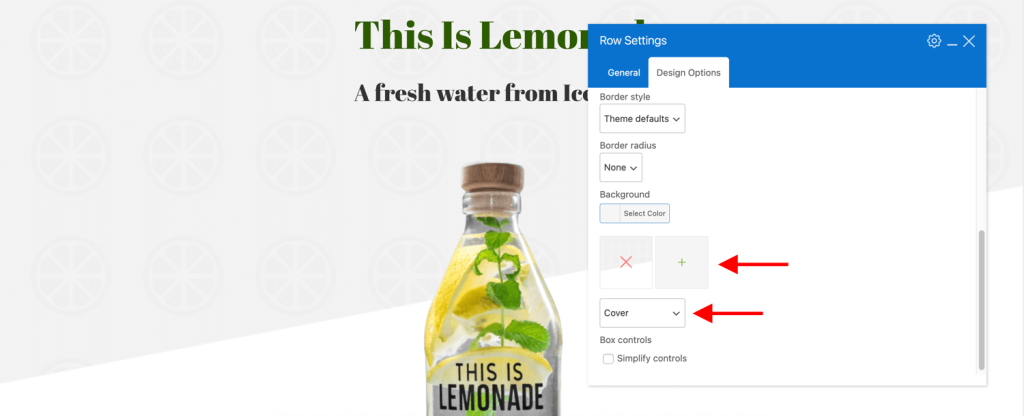
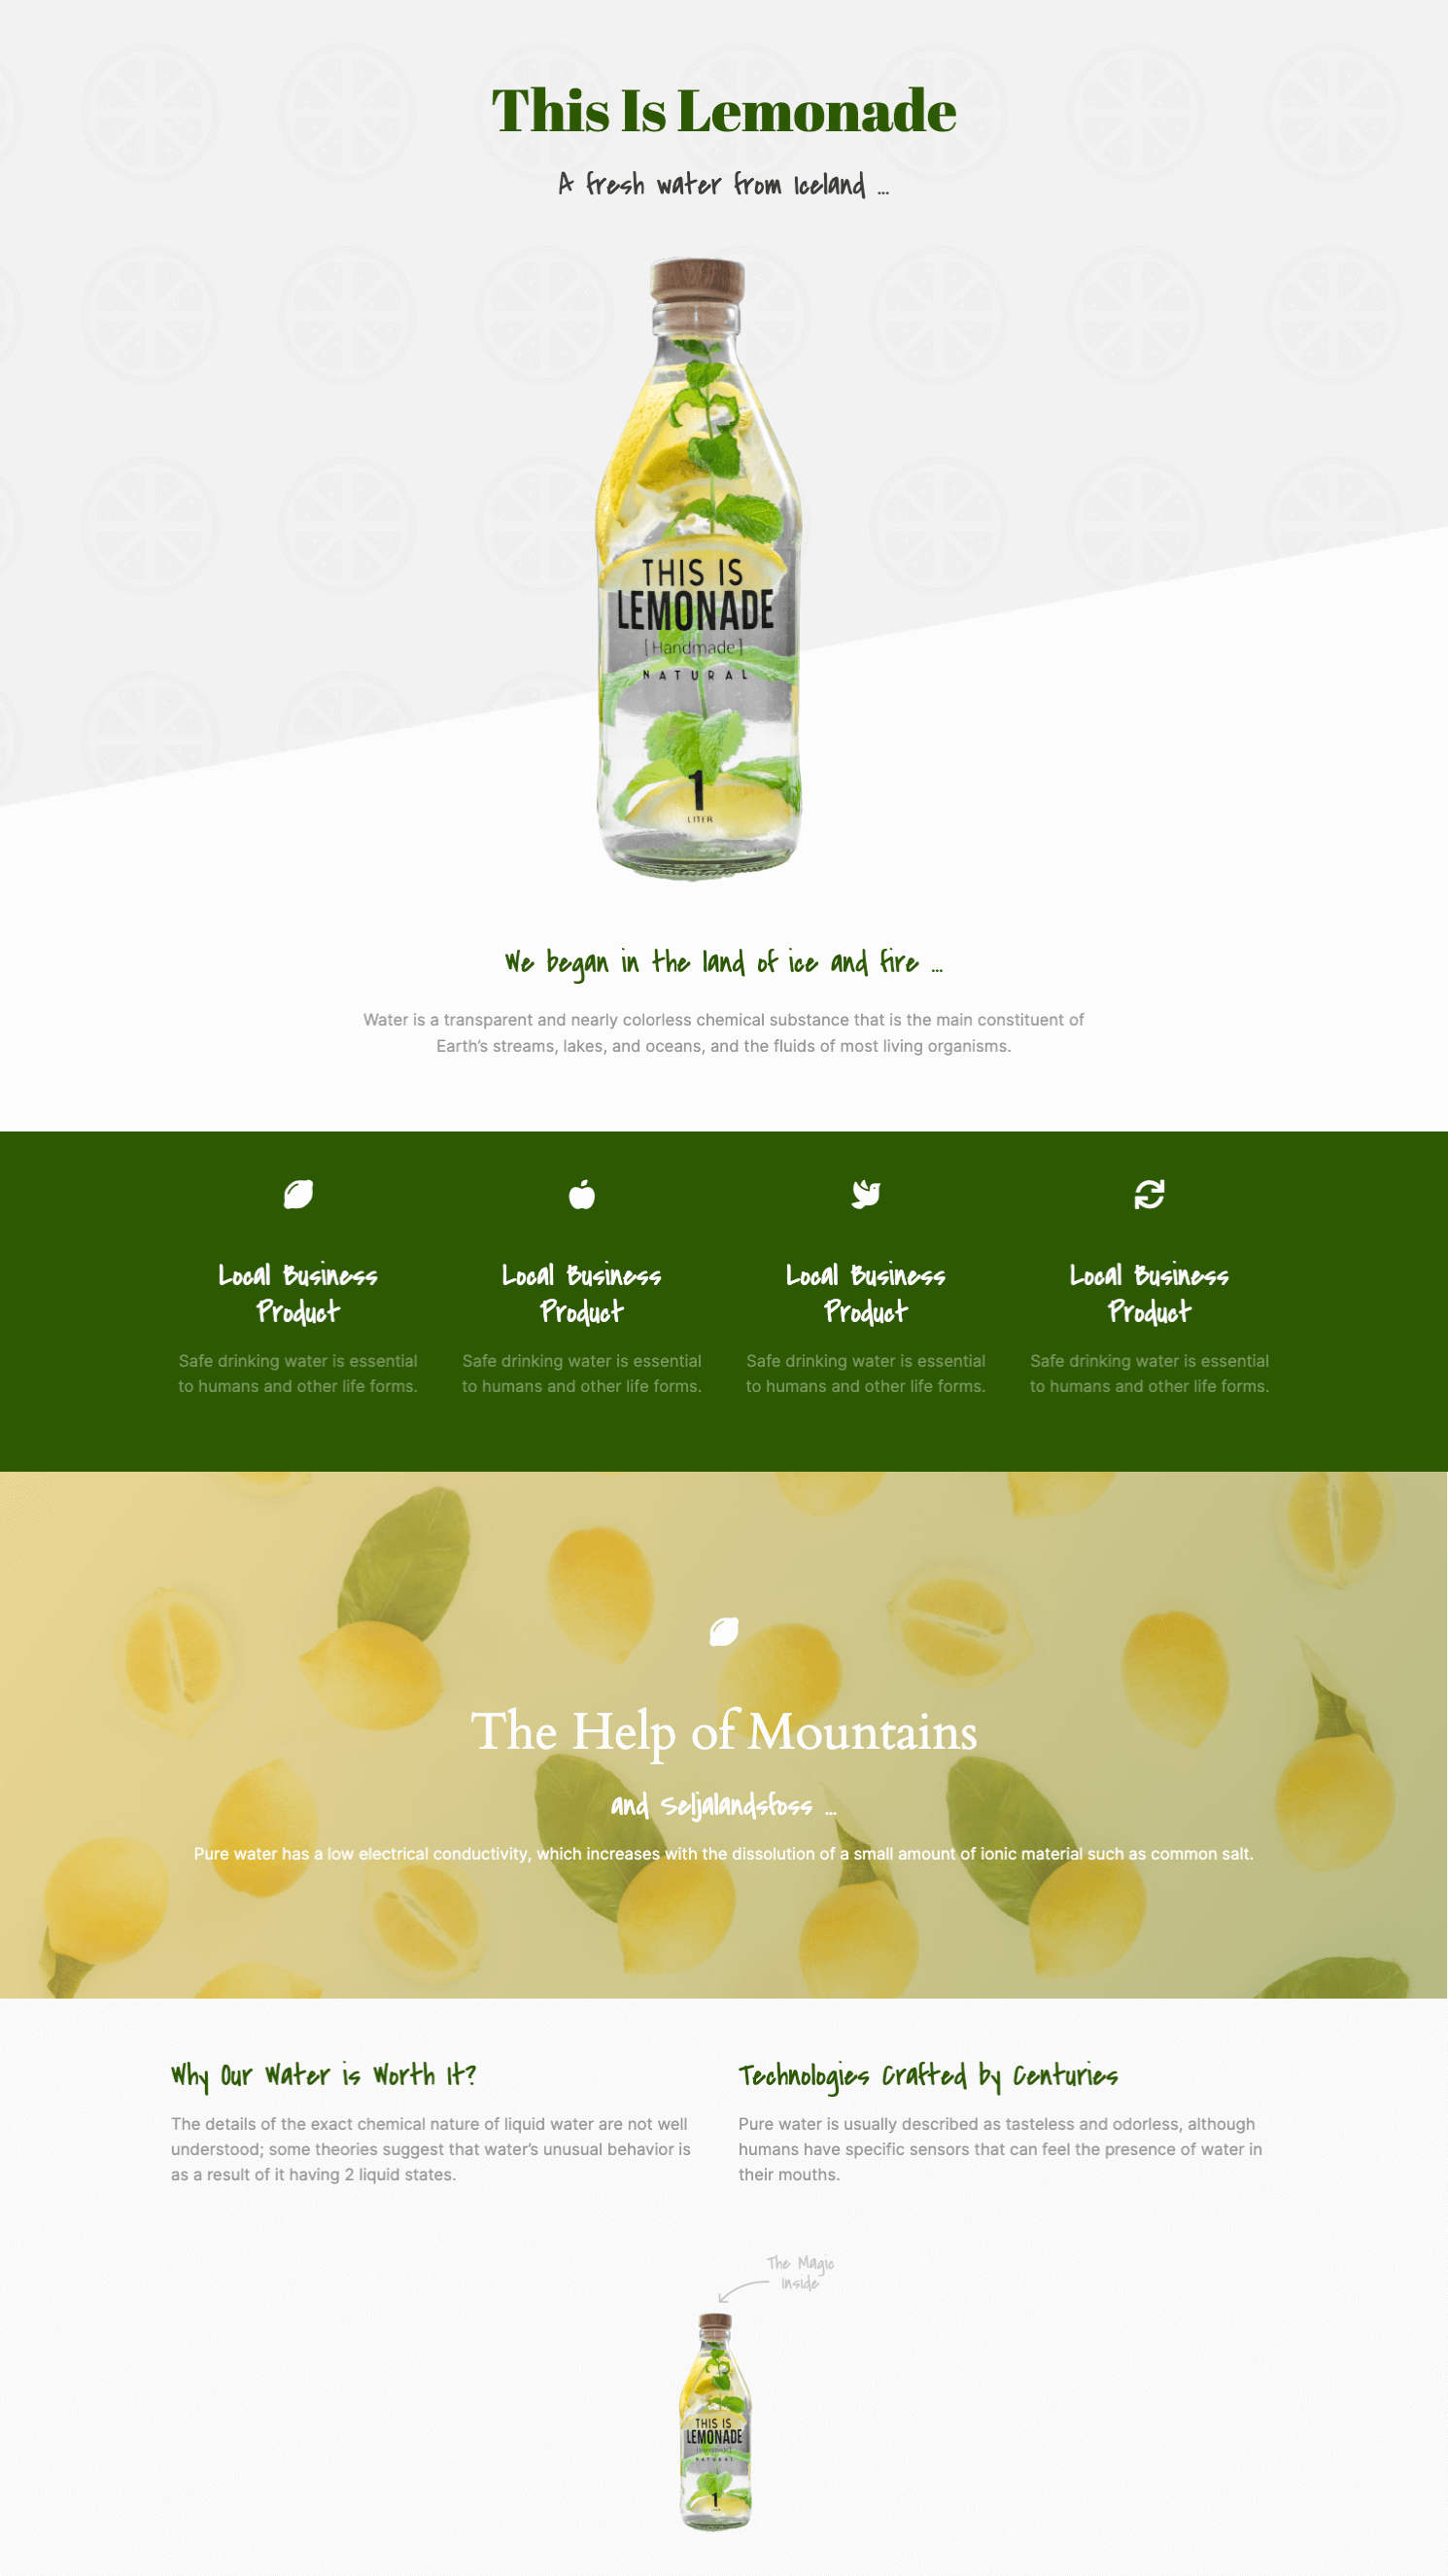
In the WPBakery editor, apply this image as the background to your hero section, and there you have it – a subtle lemon-patterned background image that serves as a shape divider.
Tip: Before uploading images to your WordPress website, use an image compression tool like TinyPNG to compress them. This maintains quality while reducing file size for faster loading times.
Finding the Perfect Font with WhatTheFont
Last but not least, we want to find a secondary font that we can use for some headings, to set the mood.
We usually take inspiration from design spaces like Awwwards, Behance, and Dribbble. Simply search for a design you like, and click on it to explore more details.
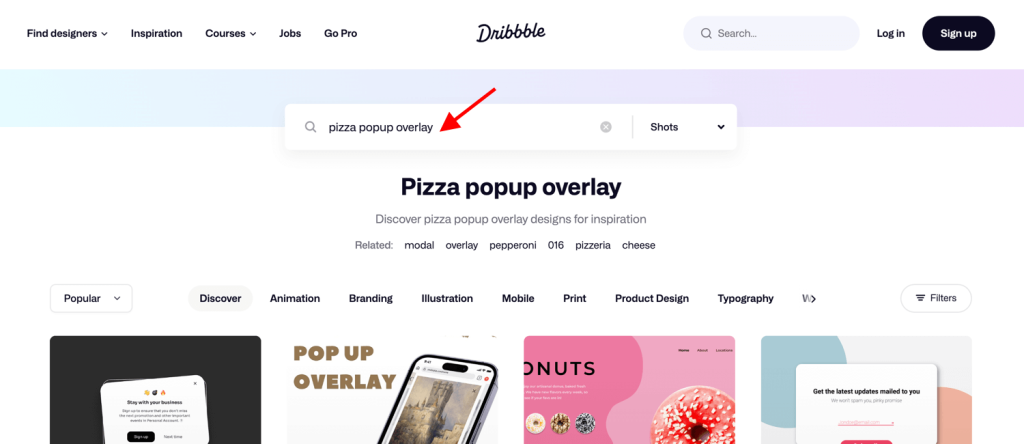

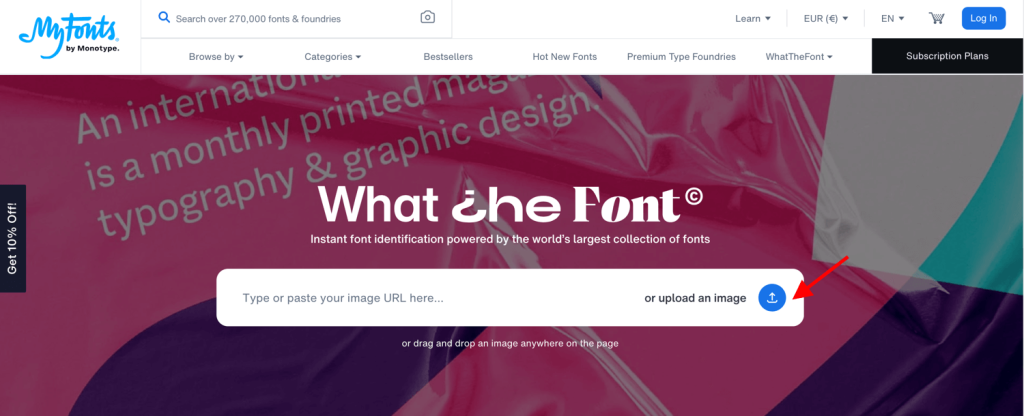
Sometimes, though, they don’t share what font they use in their design. But fear not, we can find that out by using the WhatTheFont Font Finder tool. Just take a screenshot of the font that you like, upload it and it will give you a list of fonts that it could potentially be and similar ones.
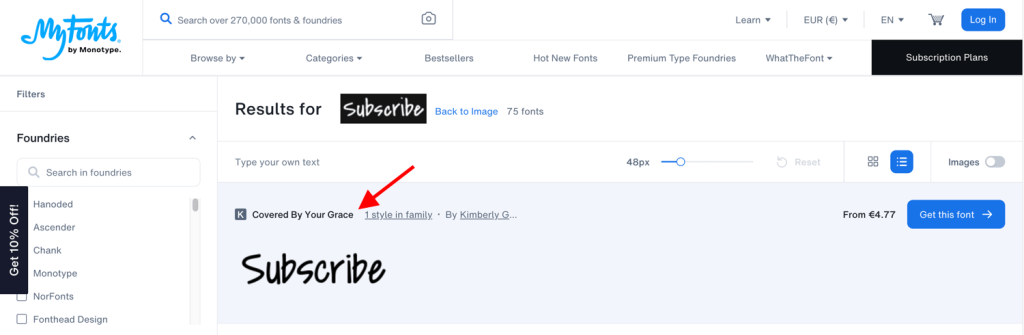
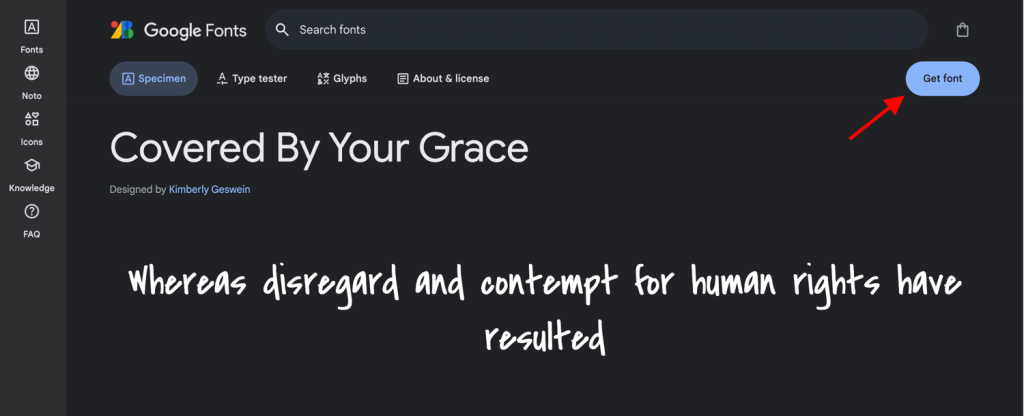
The tool shows that the first one is a paid font, but you can search it by the name in Google Fonts, and as you can see it’s actually a font you can download and use for free.
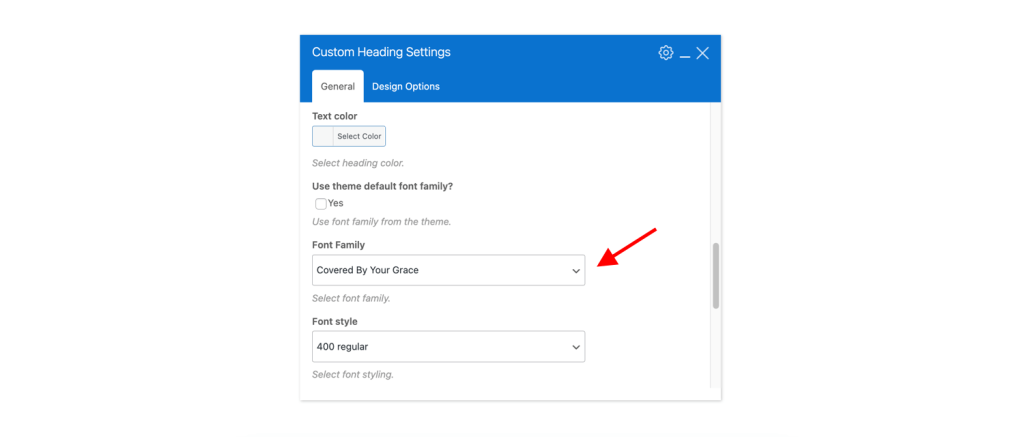
Since all Google Fonts are already available in WPBakery Page Builder, you can simply go to edit the custom heading and replace the default font with this beautiful cursive font.
And with little tweaks here and there the landing page is done!
Tip: When selecting fonts, aim for consistency and readability across your website. Choose a primary font for body text and a secondary font for headings to maintain visual harmony.
Afterwords
These were the first few of our favorite web design tools. We hope you enjoyed this content, found these tools helpful, and learned how to use them! Be sure to check out our full cookbook of episodes on YouTube for a feast of creativity that will transform your web design experience!
Bon appétit, and see you in the next one!