How to Create a Landing Page With WPBakery AI With Best SEO Practices
Creating a great landing page is essential for getting more visitors and turning them into customers. In this guide, we’ll show you how to use WPBakery and its AI and SEO tools to create a stunning landing page that not only looks impressive but also performs exceptionally well in search engine rankings.
What makes this process even more seamless is the integration of these tools into the plugin, enabling you to make real-time changes without the need to leave the editor. So, let’s get started!
Getting Started
Before we dive into the building process, it’s essential to note that landing pages often have a distinct look compared to the rest of the site. We’ll explore the creative freedom that WPBakery AI provides while ensuring the landing page serves its primary purpose – driving traffic, with the help of WPBakery SEO.
To follow this guide, make sure you have WPBakery installed and activated on your WordPress site. Additionally, consider getting WPBakery Hosting on Indystack for your all-in-one website development solution.
Building the Landing Page
In an earlier tutorial, we showcased how you can create a simple, yet effective landing page with the standard features of WPBakery Page Builder. In this tutorial, we’ll show you how to use the combined power of WPBakery’s built-in AI and SEO tools, to do it even more quickly and efficiently.
We’ll be using the frontend editor and the Twenty Twenty-Four theme, but you can also consider using the free and simplistic Visual Composer Starter theme.
To make a landing page in WPBakery, follow these steps:
-
Creating a New Page
From your WordPress admin dashboard, go to Pages and add a new page. From there, select the WPBakery frontend editor, and choose the blank layout (without a header and footer) from the Blank Page Wizard.
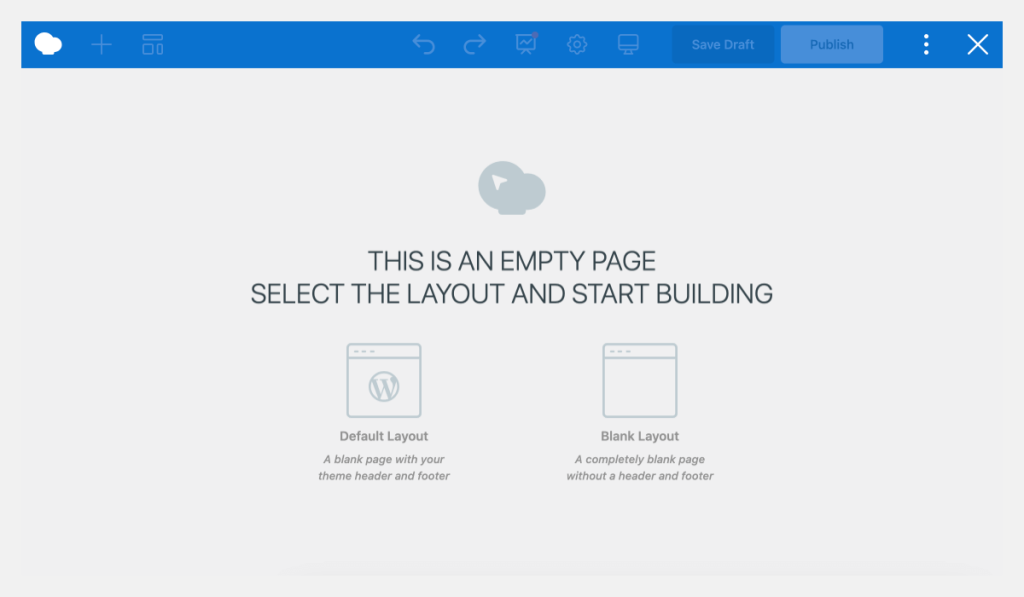
It’s essential to eliminate potential distractions and ensure you have a clear call-to-action on your landing page. This involves steering clear of any links within the menus that could lead visitors away from the intended action. -
Building the Header
To build the header, start by adding a row from the Add Element window. Divide it into two columns and stretch the row to expand the content area. In the Row Settings, go to the Design Options tab and select a background color.
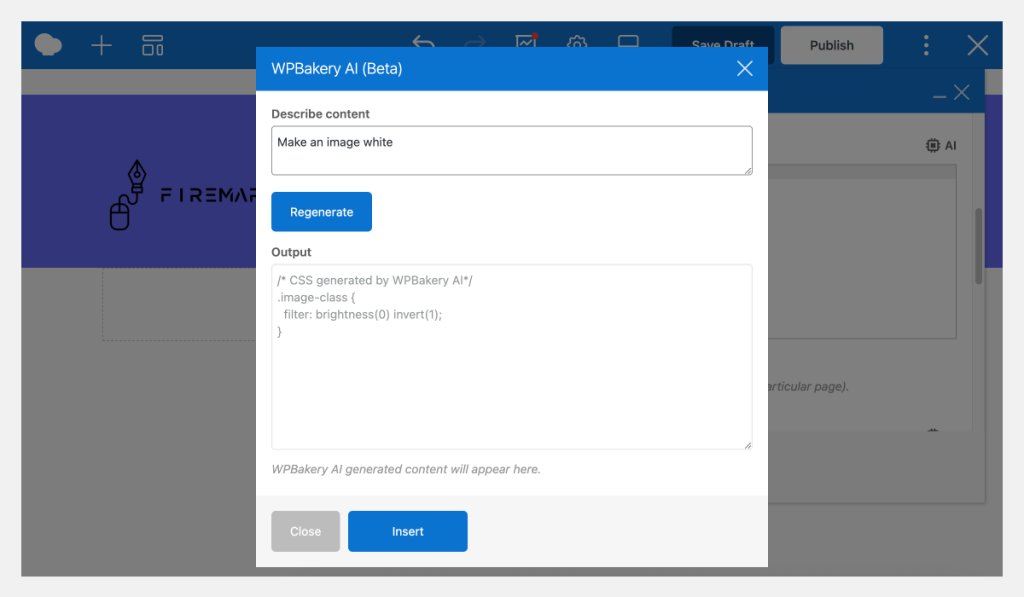
Now, add your logo in the left column. Click the plus icon, choose Single Image, and drop your logo in. In cases where you would like to adjust the color of your logo, without manually editing it, you can use custom CSS. To generate code with WPBakery AI, go to custom CSS settings in the page settings, click on the AI icon, describe the change (in our case – make the image white), insert the code, and save changes.
After that, place a button in the right column with your desired call to action text, such as “Book now.” Then, adjust the button’s size, shape, and position within the row using the element settings. To change the color, you can pick from the available options, or choose a custom gradient from the style options, and set your preferred colors using the color picker. This easy step makes sure your button fits well with your design.
-
Creating the Hero Section
Next, let’s create the hero section, the most crucial part of your landing page. To make it stand out more, we’ll add a background image, which will serve as a divider between the two sections. To make it stand out, we’ll include a background image in this row, serving as a divider between the two sections. You can easily create one yourself, using a free tool like Figma.
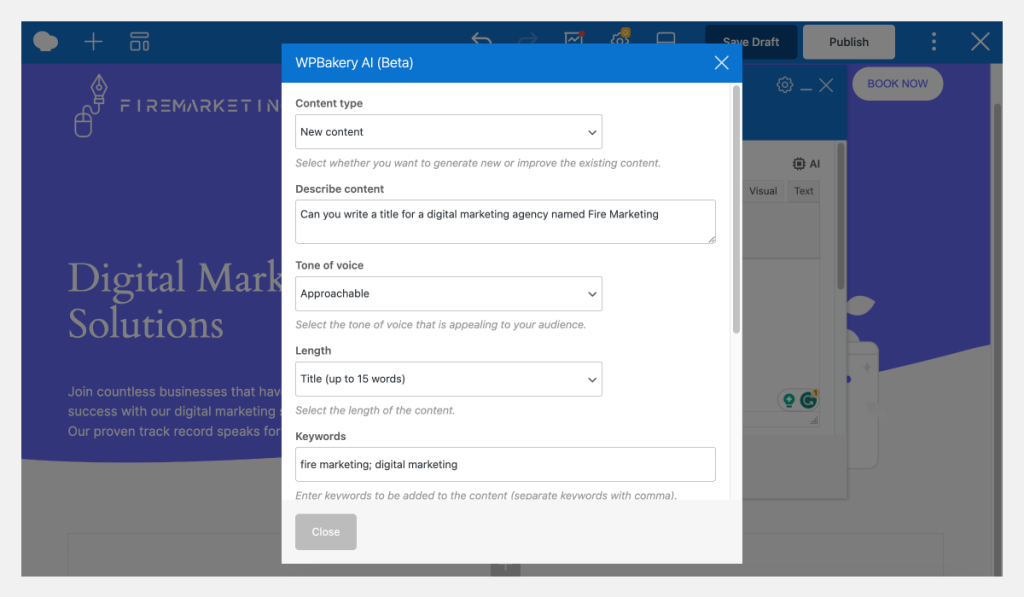
Now, place a text block in the left column and add a headline and a description. We’ll make it more engaging with the help of WPBakery AI. To guide the AI, we describe the content, choose the tone of voice, specify the length, and add focus keywords for the text. Keep in mind that the results depend on your prompts, so don’t hesitate to test, refine, and adjust.
After fine-tuning our hero text, let’s add a visual element to highlight our brand and offerings. We’re using the free and customizable illustrations from Themisle throughout the page. Insert the image in the column and adjust its size and alignment in the settings. Preferably, upload images in the dimensions you want them displayed in, to avoid losing quality.
Moreover, if you want to import a custom Google font for your text, WPBakery AI can generate custom CSS for you. In our case, we asked to change the headline to the Montserrat font.
-
Creating the Client Section
Next, it’s essential to add social proof elements to the landing page – testimonials, numbers, or, like in our case, clients we’ve worked with. This assures your visitors that others have tried and approved your products or services.
To set this up, create a section with two rows – one for the title and one for the image. This time, don’t stretch the rows. For the row with logos, split it into four sections, and add the images. To make the logos stand out, click the AI icon in the Page Settings, and describe the effect you want (we chose a hover zoom effect).
Don’t forget to add the class to the images, and adjust it in the generated code. Also, add some padding to the top and bottom of the image row for a better appearance.

To highlight the client section even more, we’ll add a cool CSS effect by asking AI to generate a dark glow effect, insert it, and save the changes. Remember, you have the flexibility to fine-tune the code or, in this case, modify the color of the glow within the custom CSS settings.
-
Creating the Feature Section
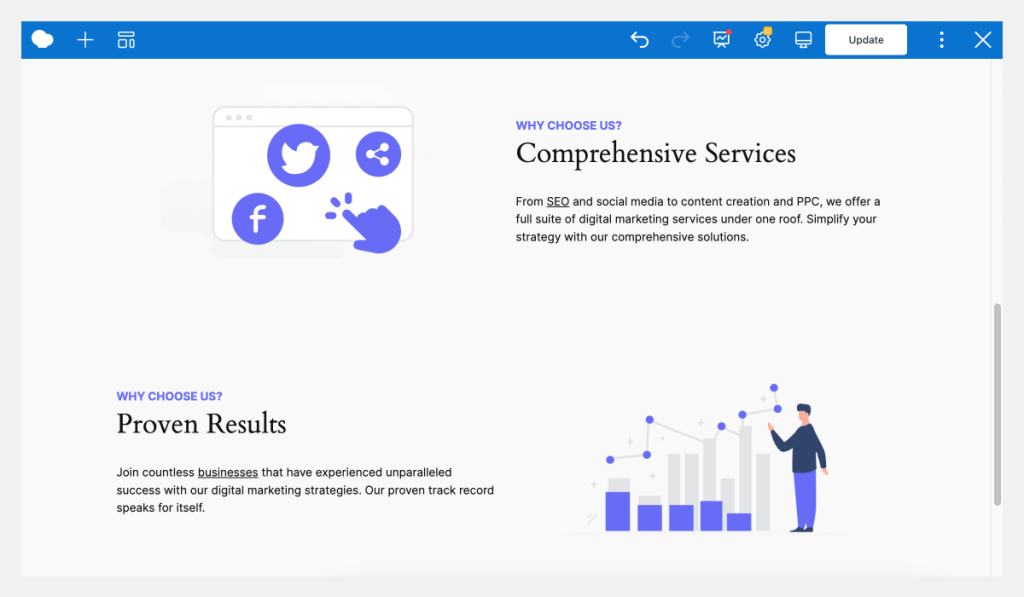
Now you’ll want to add more information about your offering, or in our case, a “Why choose us?” section describing our services.
To achieve this, add a row, split it into two columns, and place a text block and an image within them. Then, make simple adjustments to the margins. Duplicate the row for the next feature and consider switching columns for a bit of variety.
-
Optimizing for SEO
Now, to ensure the landing page ranks highly in search results, let’s optimize it using the built-in SEO toolkit. Start by opening the WPBakery SEO window from the navigation bar. Fill in the general information – focus keyphrase, SEO title, slug, and meta description.
Most of these fields can also be generated or improved using WPBakery AI. Having these details ensures that the SEO analysis understands the keywords you aim to rank for, and provides you with better suggestions.
Now, check the content analysis tab. It displays all the improvements that can be made, to make our page fully optimized and visible on search engines.

-
Final Touches
Finally, review the content and layout, and make any necessary adjustments for aesthetics and performance. And there you go – a professional, well-designed landing page, that’s optimized for search engine visibility, without leaving the editor.


Conclusion
In this step-by-step guide, we walked through how you can harness the power of artificial intelligence and search engine optimization in a single plugin – WPBakery Page Builder. You now know how to create visually stunning and highly effective landing pages. And remember – by continuously monitoring and optimizing your pages, you’ll be able to get the best results. Happy building!